On this page
A laser scan captures millions of points in an afternoon. Turning those points into a model your team can design from takes longer, and most of the delays come from missing information at the start, not from the modeling itself.
This guide covers what a Scan to BIM deliverable should include, the information that keeps a project moving, how to pick the right level of detail and how accuracy is checked before anything is handed over.
What Scan to BIM really delivers
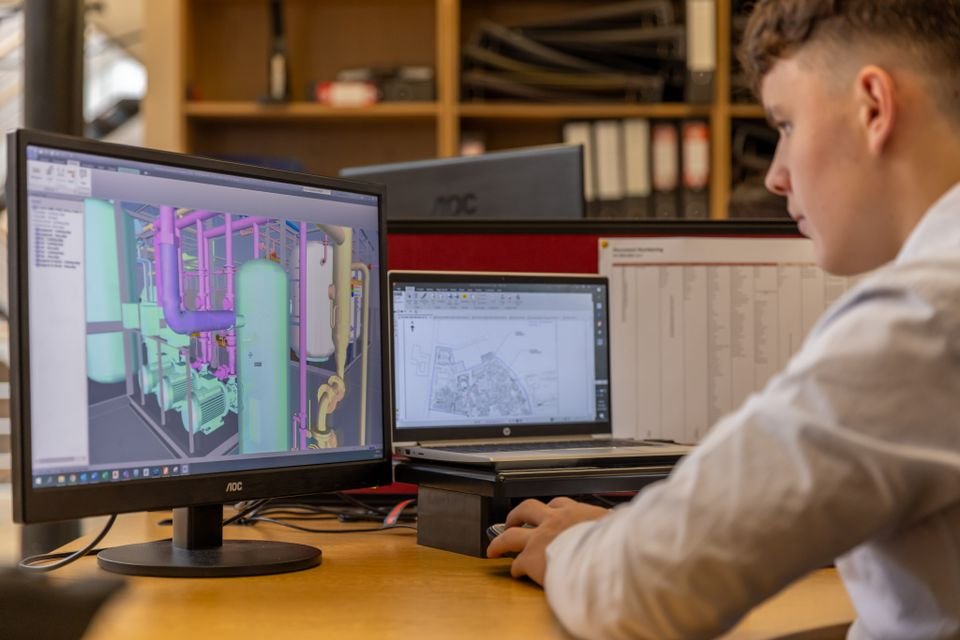
Scan to BIM converts a registered point cloud into an intelligent 3D model of existing conditions. Walls, floors, openings, structure and services become real building elements with dimensions and properties, not just surfaces.
- A model you can design in. Existing elements are placed on the correct levels and grids, ready for new work.
- Drawings on demand. Plans, sections and elevations come straight from the model and stay consistent.
- Fewer site visits. The point cloud remains available for checking details later.
What to send before modeling starts
The clearest projects arrive with a short, complete brief. These five items prevent most back-and-forth:
- Registered point cloud. E57 or RCP files, with registration already checked.
- Levels and grids. Datum heights or a reference drawing so the model aligns with your project.
- Scope boundaries. Which floors, which disciplines and what can be ignored.
- Your template. Families, view templates and naming standards to follow.
- Deliverables and deadline. Model only, or model plus drawing sheets, and by when.
A one-page scope note saves more time than any modeling shortcut. Most delays start with a question that could have been answered on day one.
Cadbricks Scan Team · Project lead
Choosing the right level of detail
Level of detail (LOD) sets how much geometry and information each element carries. Higher is not automatically better: it costs time and can make models heavier than the project needs.
| LOD | What is modeled | Typical use |
|---|---|---|
| 200 | Approximate size, shape and location | Feasibility and early design |
| 300 | Accurate geometry and positions | Design development and permits |
| 350 | Adds connections and interfaces | Coordination between trades |
| 400 | Fabrication-level detail | Shop drawings and installation |
For most renovation and extension projects, LOD 300 for architecture and structure strikes the right balance. Services can often be modeled at LOD 200 unless coordination is required.
How accuracy is checked
Every model is compared back against the point cloud before delivery. Deviation checks confirm that walls, floors and openings sit within the agreed tolerance, and any areas the scan could not see are clearly marked.
Agree a tolerance up front
State the accuracy you need in the brief. It decides how much time goes into fitting uneven walls and sloping floors.
Conclusion
Good Scan to BIM starts before the first element is modeled. A registered point cloud, clear levels, a defined scope and the right level of detail turn a scan into a model your whole team can rely on.
Planning a Scan to BIM project? Send us your brief and we will reply with an approach, timeline and quote within one working day.